 Hello everyone! Let me start off by introducing myself. My name is Alex and I am a co-owner of a blog called Whimsy Darling. A few things about me; I love tea (hot or cold), My favourite colour is sunshine yellow, I live in a one bedroom Toronto apartment with my husband of one year and I honestly think there are few things better than a good puppy cuddle.
Today I wanted to share a tutorial to help you customize your makeup brushes and give them your own personal flare.
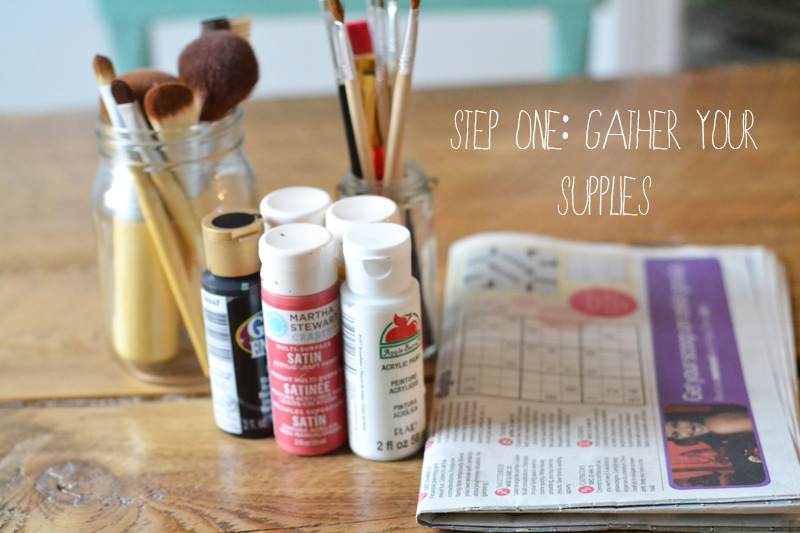 Things you will need:
-Makeup brushes (duh)
-Paintbrushes
-Paint (a base colour and a colour for your design)
-Newspaper (so you don’t make a mess)
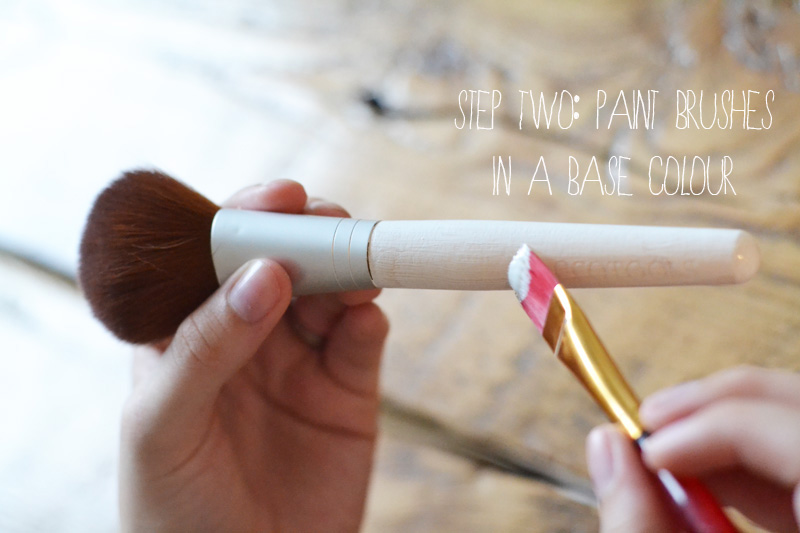 For this step I chose to use a simple white. I love how the contrast of black and white looks so that’s what I chose to do with mine. You may want to do a couple of coats depending on how dark your makeup brush originally was. (also as a side note, if you have any painters tape lying around I would recommend using that during this step to make your line cleaner. I tried to be really careful and I still ended up wiping a little white paint off the metal portion of the brush after I was done)
 I know that leaving your makeup brushes like this is a huge no no but it seemed like the easiest solution. I was able to paint the entire brush instead of just doing one side at a time. To all of you who are cringing at the sight of this, I’m sorry!
Before I show you what I ended up doing, first let me show you what NOT to do. I wanted to come up with a way to make very uniform and clean circles for my polka dots so I decided to make a stencil. I used paper and a hole punch to create it and then wrapped the stencil around the makeup brush and secured it with tape.
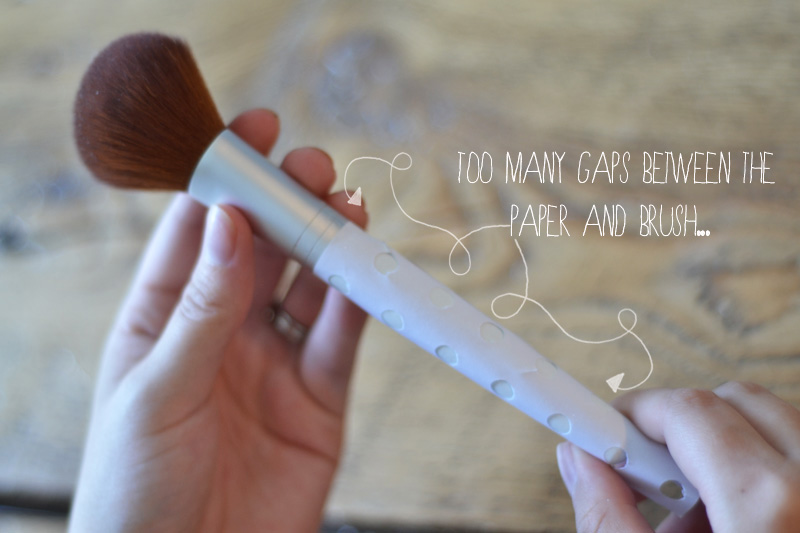 The gaps between the paper and brush make for very, very sloppy circles. It didn’t look pretty so I immediately scrapped that idea and decided to freehand it instead. If you want to try this tutorial with a stencil, I would recommend using some of those paper hole reinforcement stickers you can get at any Walmart or dollar store. Just make sure the base coat is fully dry so the sticker doesn’t end up peeling off the paint when you remove it.
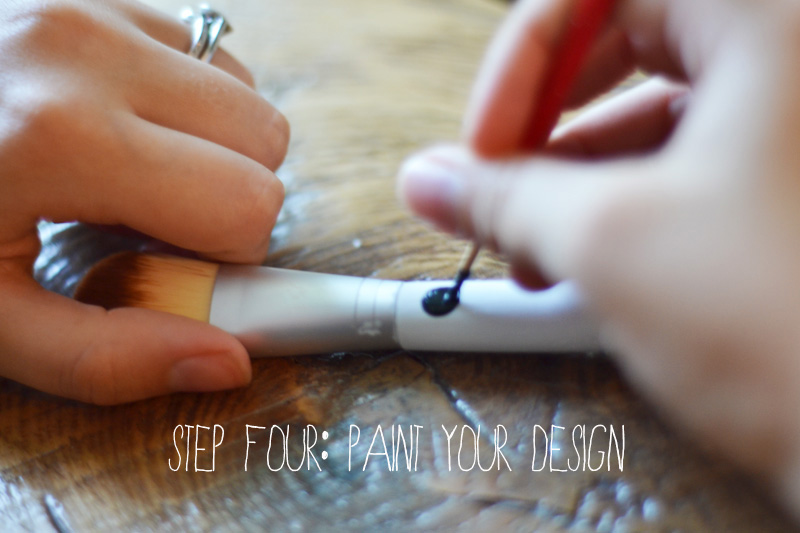 I ended up liking the look of the freehand dots more than the clean ones a stencil would have made. They are a little more randomly scattered and imperfect but I like the uniqueness it gave each brush.
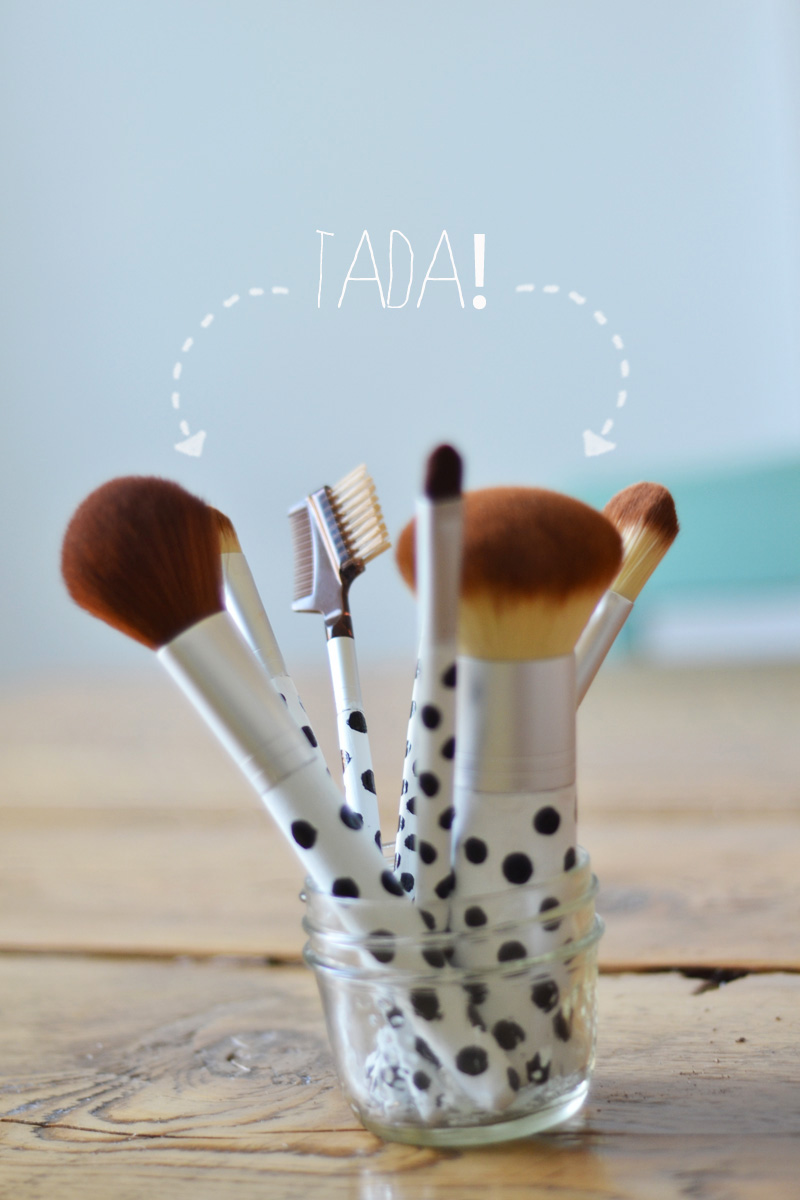 And there you have it! A simple project you can complete within one afternoon that will add some uniqueness to your vanity!
Thank you for allowing me to take over Sarah’s blog for the day while she is away. I really enjoyed creating this tutorial for you all and I’m thankful for the opportunity to meet all of you! I hope you’re having a fantastic week.
Alex xo


 Click
Click 


this is so adorable! I think I might do this….Already have the paint! :)
These are SO cute! Loved this tutorial, Alex!
-Becca
Ladyface Blog
I love this! And it looks so simple, like even I could do it if (I owned make-up brushes)! But I might apply this tutorial to something else like my wooden spoons or something :)
These look so perfect! Great idea :) very cute ^^
Fun!! I think I know someone who would love a set of these for their bday :) thanks for sharing this DIY project!!
Omg, omg.. so cute. I have the most crappy and boring makeup of all time. I am going to do this with pink paint on the weekend.
This is such a great idea!
I’m so excited to try this DIY project…better yet I think I’ll plan a girls night and have them all bring their brushes too! Thanks so much Alex for sharing your tips! Ok, I have a party to plan :)
Love…I’m thinking I may attempt strips :) or a solid and add some washi tape!! Oh the possibilities! Thanks for this idea :)